ORIGAMI BASES
基本形ずかんThe origami bases
むずかしい作品も、ほとんどは「基本形」の組み合わせ。基本形は、たくさんの作品に共通する折りはじめの形です。家系図で関係をつかんで、動くお手本で1つずつ覚えよう。Even the hardest models are built from a few bases — shared starting shapes. See how they are related, then learn each one with an animation.
基本形の家系図Family tree of bases
矢印の先は、もとの形にもう少し折りを足したもの。下へ行くほど、紙の角が細い「先」に分かれて、足・つの・はねが出せるようになります。Each base below adds a few folds to the one above. The further down, the more long points you get for legs, horns and wings.
★★かんたんEasy
たこの基本形Kite base
対角線に合わせて、となりの2つのふちを折る。たこ(凧)の形になります。いちばん最初に覚えたい基本形。
Fold two neighboring edges to the diagonal. It looks like a kite — the first base to learn.
ふちを対角線にぴったり。下の角がとがるように。Edges exactly on the diagonal, so the bottom point stays sharp.


たこの基本形から生まれる作品(17)Models from the kite base (17)

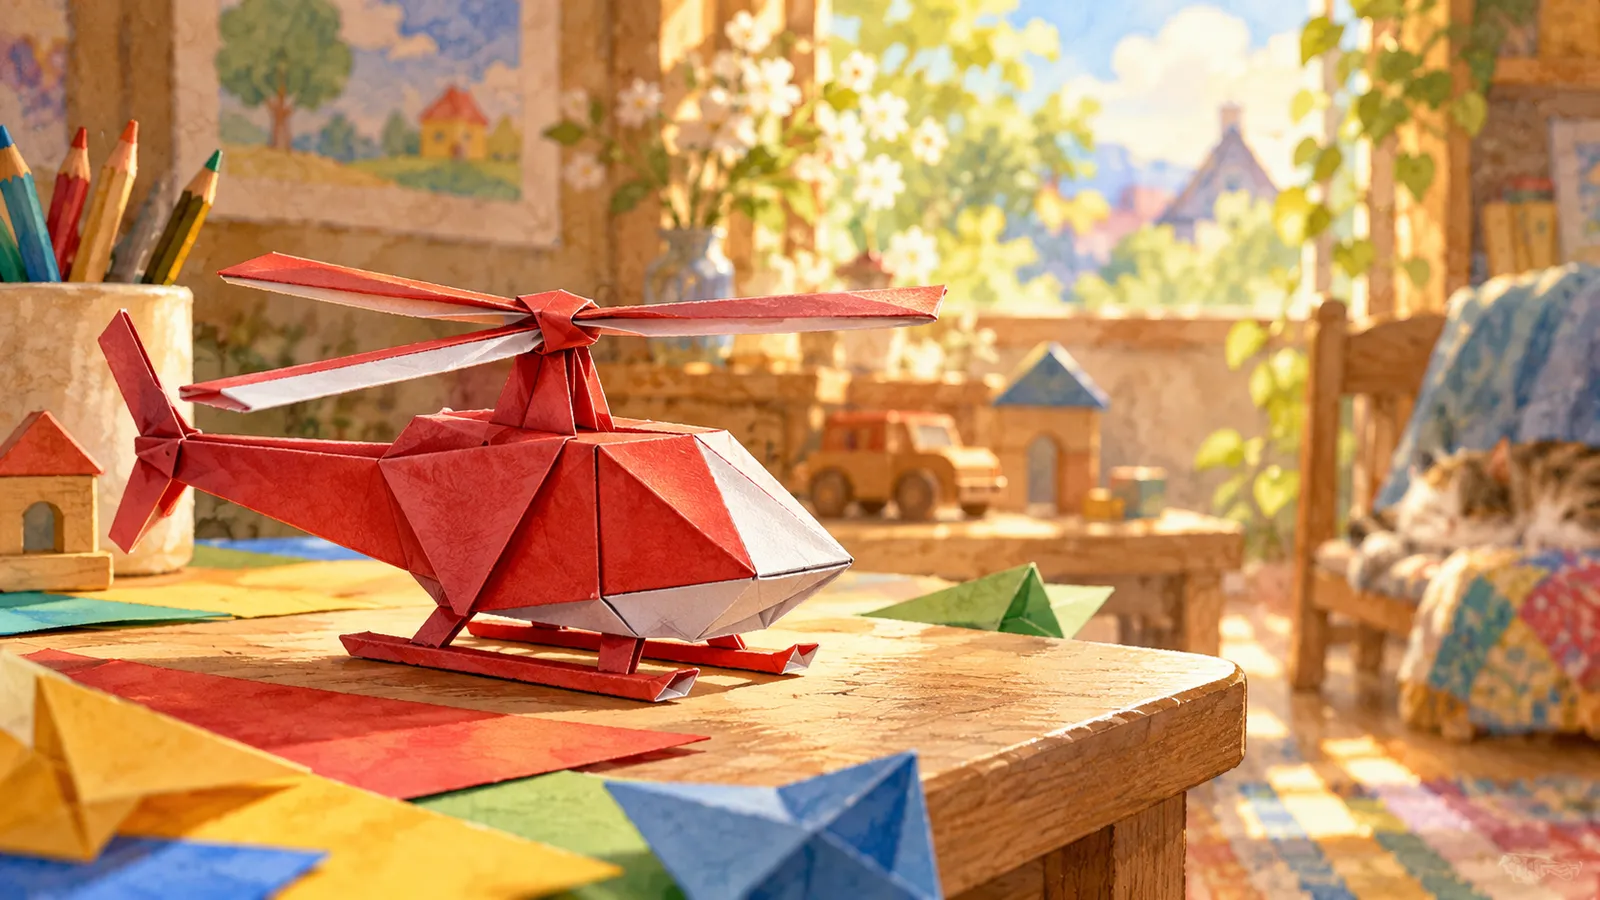


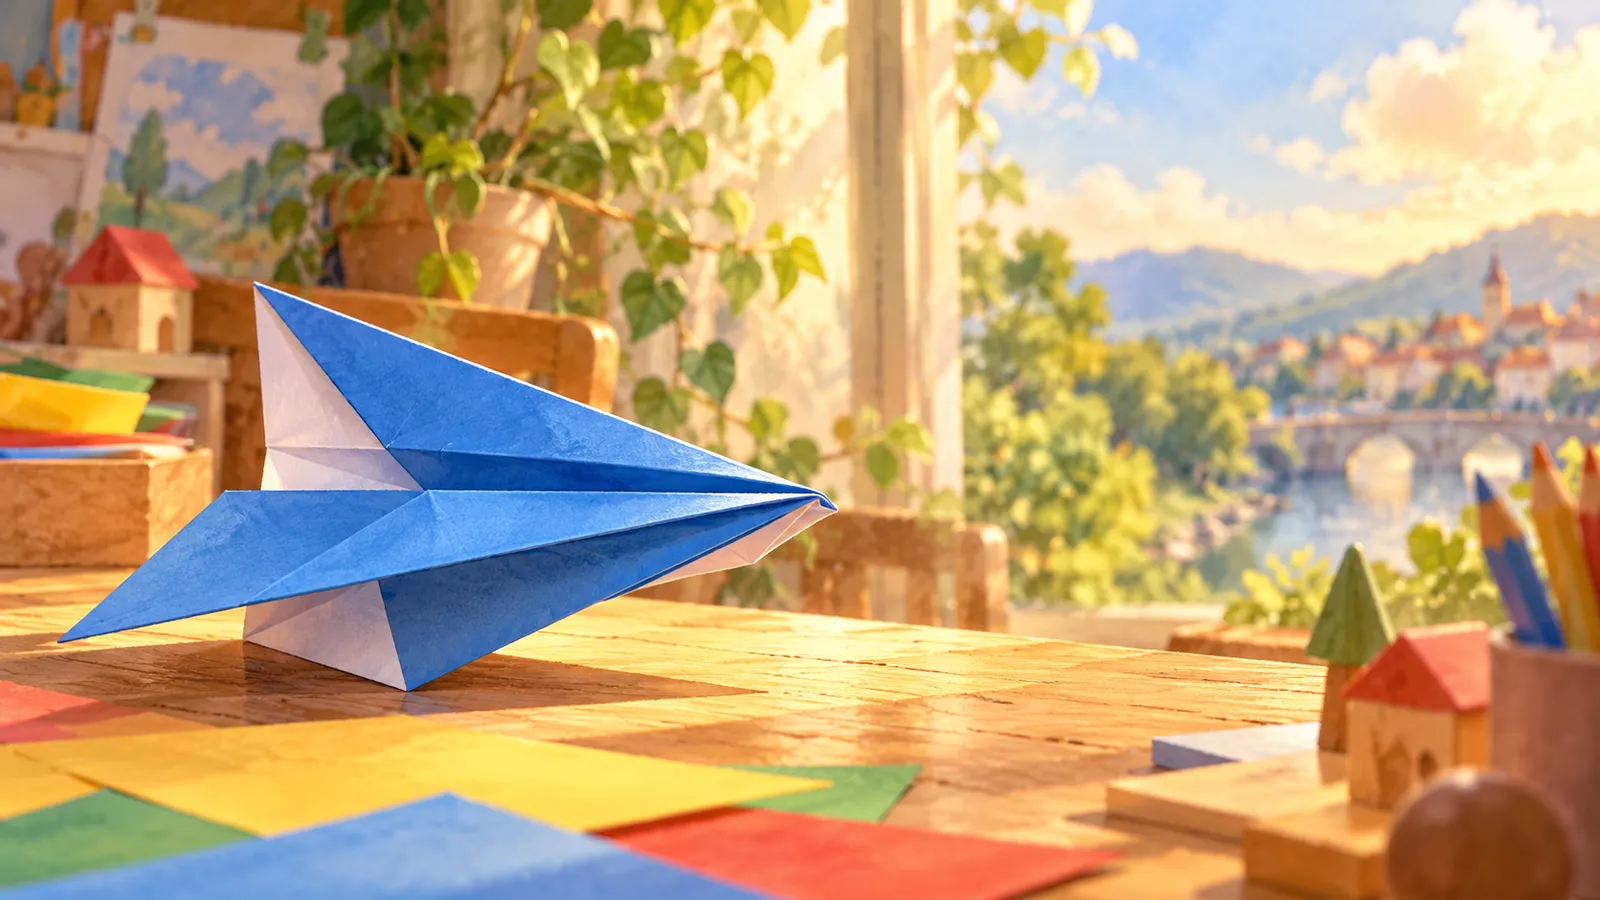


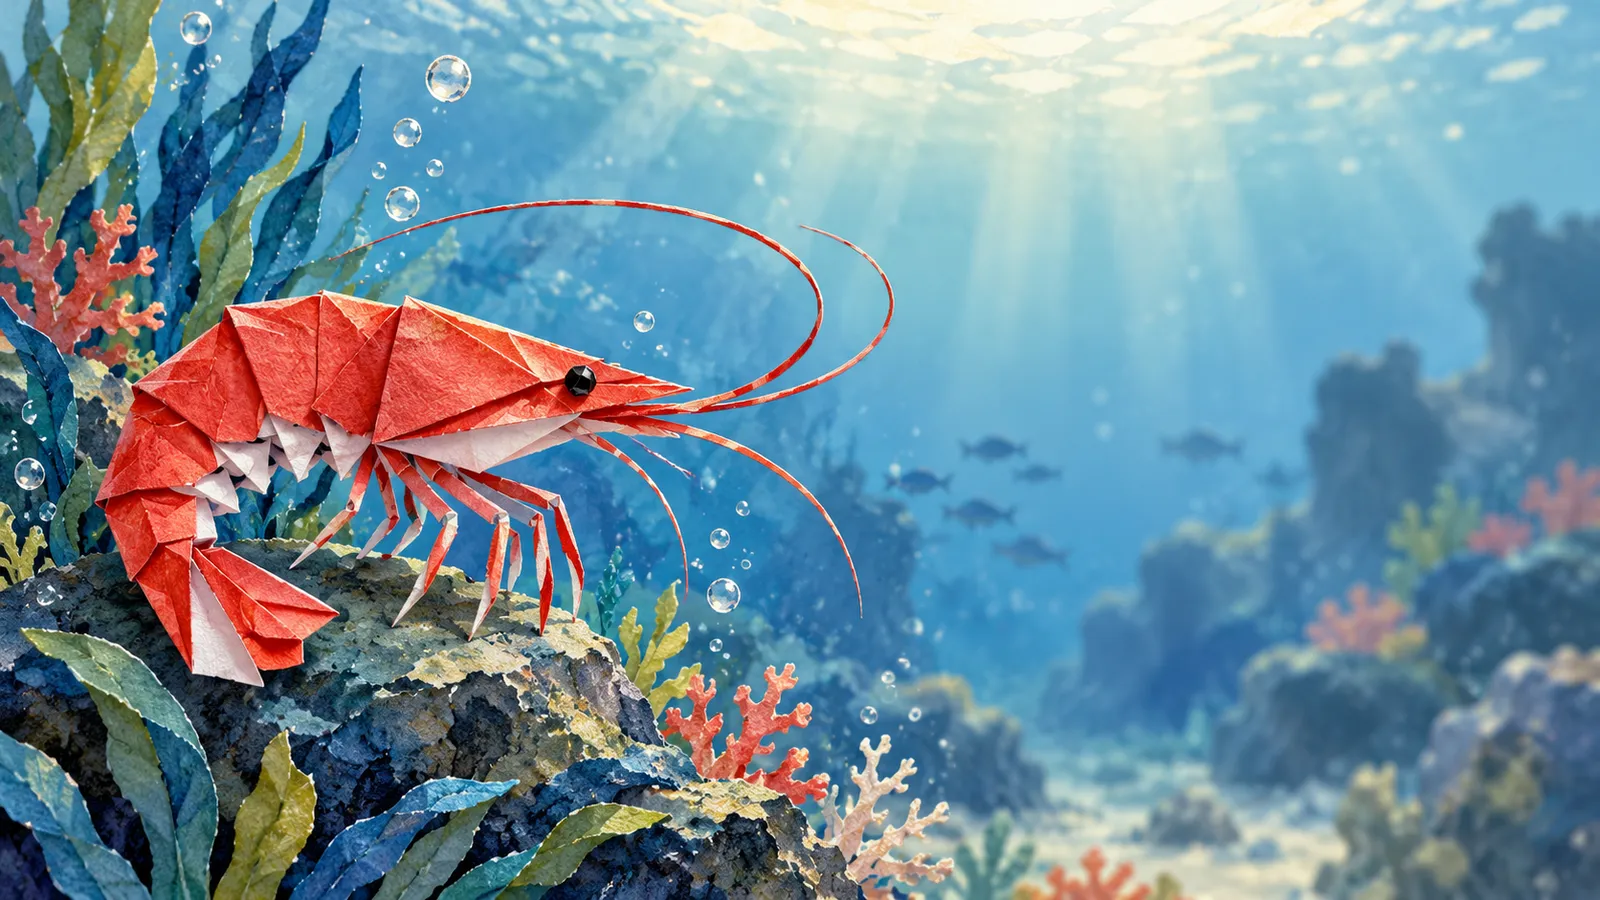




★★かんたんEasyたこの基本形からfrom the kite base
ひし形の基本形Diamond base
たこの基本形を、反対の角からも折った形。細長いひし形になります。
A kite base folded from both ends of the diagonal, making a long diamond.
両方の角から、同じ線に合わせて折る。Fold from both ends to the same diagonal.
ひし形の基本形から生まれる作品(3)Models from the diamond base (3)


★★★★チャレンジChallengeひし形の基本形からfrom the diamond base
魚の基本形Fish base
ひし形の両側を、うさぎの耳折りで立てて倒した形。2本のひれ(足)が出るので、魚・くじら・鳥の作品に使います。
Rabbit-ear both sides of a diamond. Two extra flaps appear — great for fish, whales and birds.
うさぎの耳折りは、3本の折りすじを先につけてから。Pre-crease all three lines before each rabbit ear.
魚の基本形から生まれる作品(3)Models from the fish base (3)
★★かんたんEasy
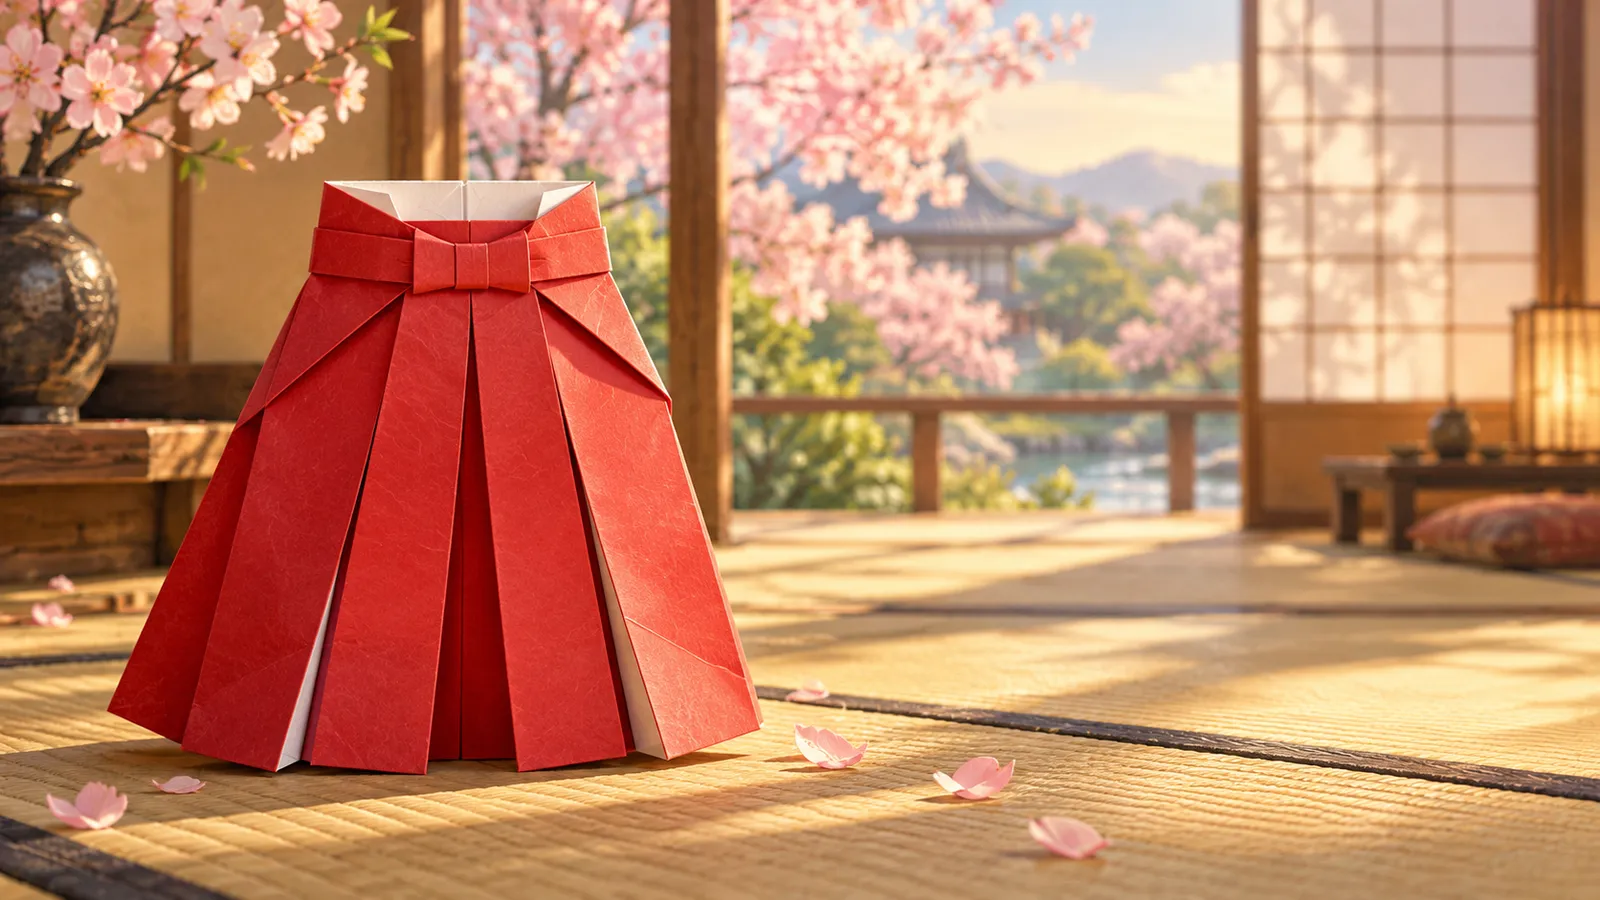
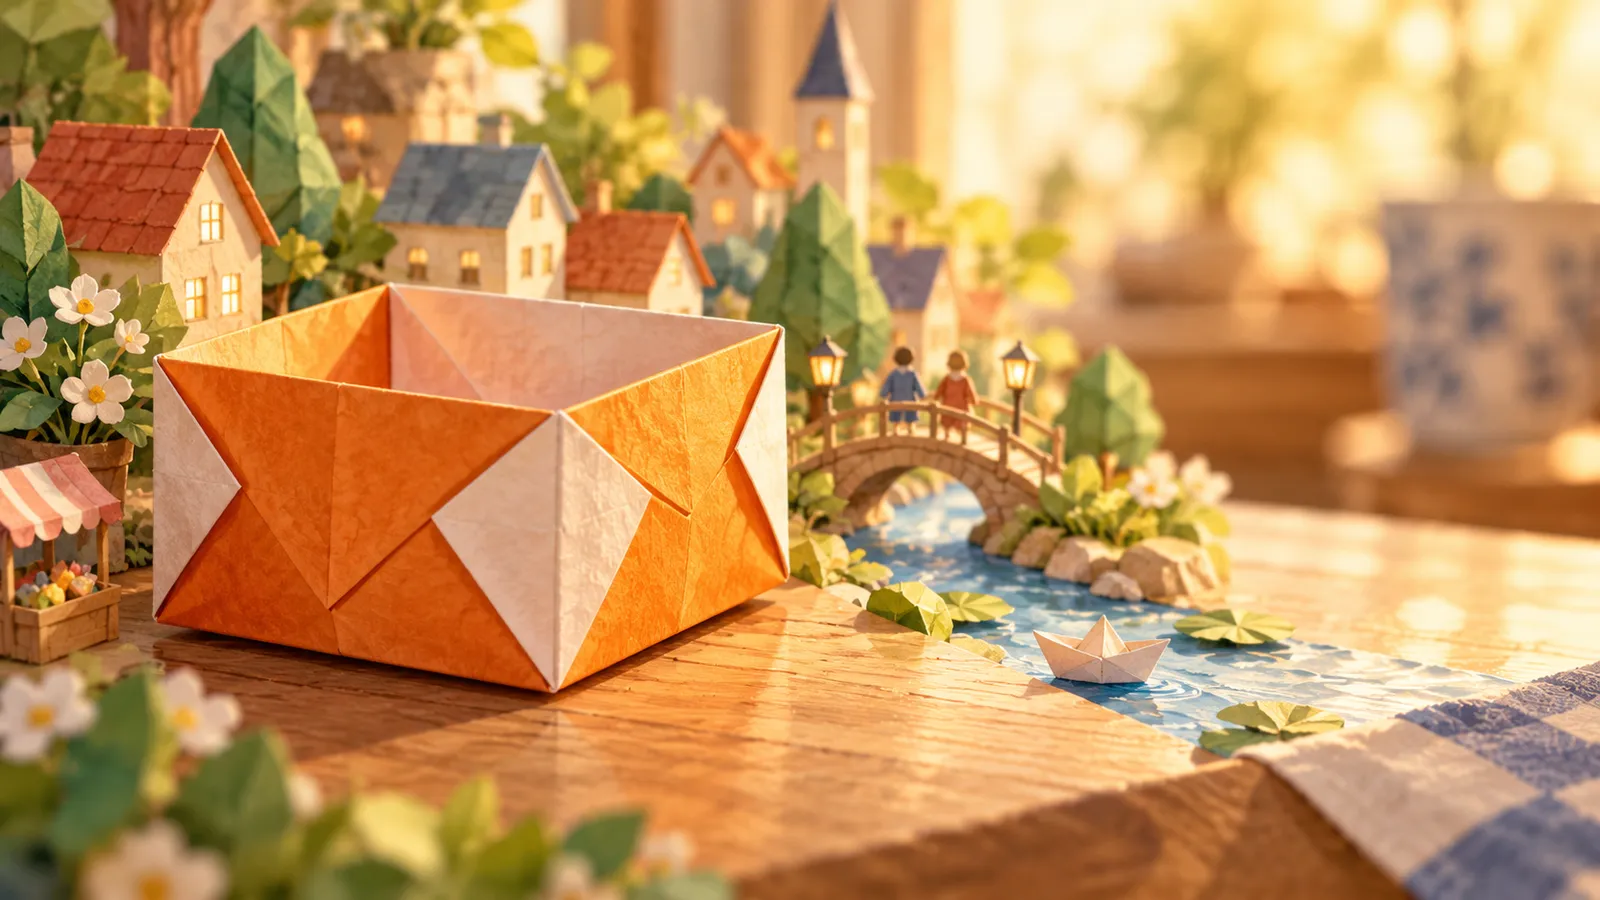
ざぶとん折りBlintz base
4つの角をまん中に合わせて折る。紙が半分の大きさの正方形になり、うらに4つのポケットができます。ます・やっこさん・風車の出発点。
Fold all four corners to the center. You get a smaller square with four pockets — the start of the masu box, yakko and pinwheel.
先にたて・よこ・ななめの折りすじをつけると、まん中がずれない。Crease both diagonals first so the center is exact.
ざぶとん折りから生まれる作品(13)Models from the blintz base (13)
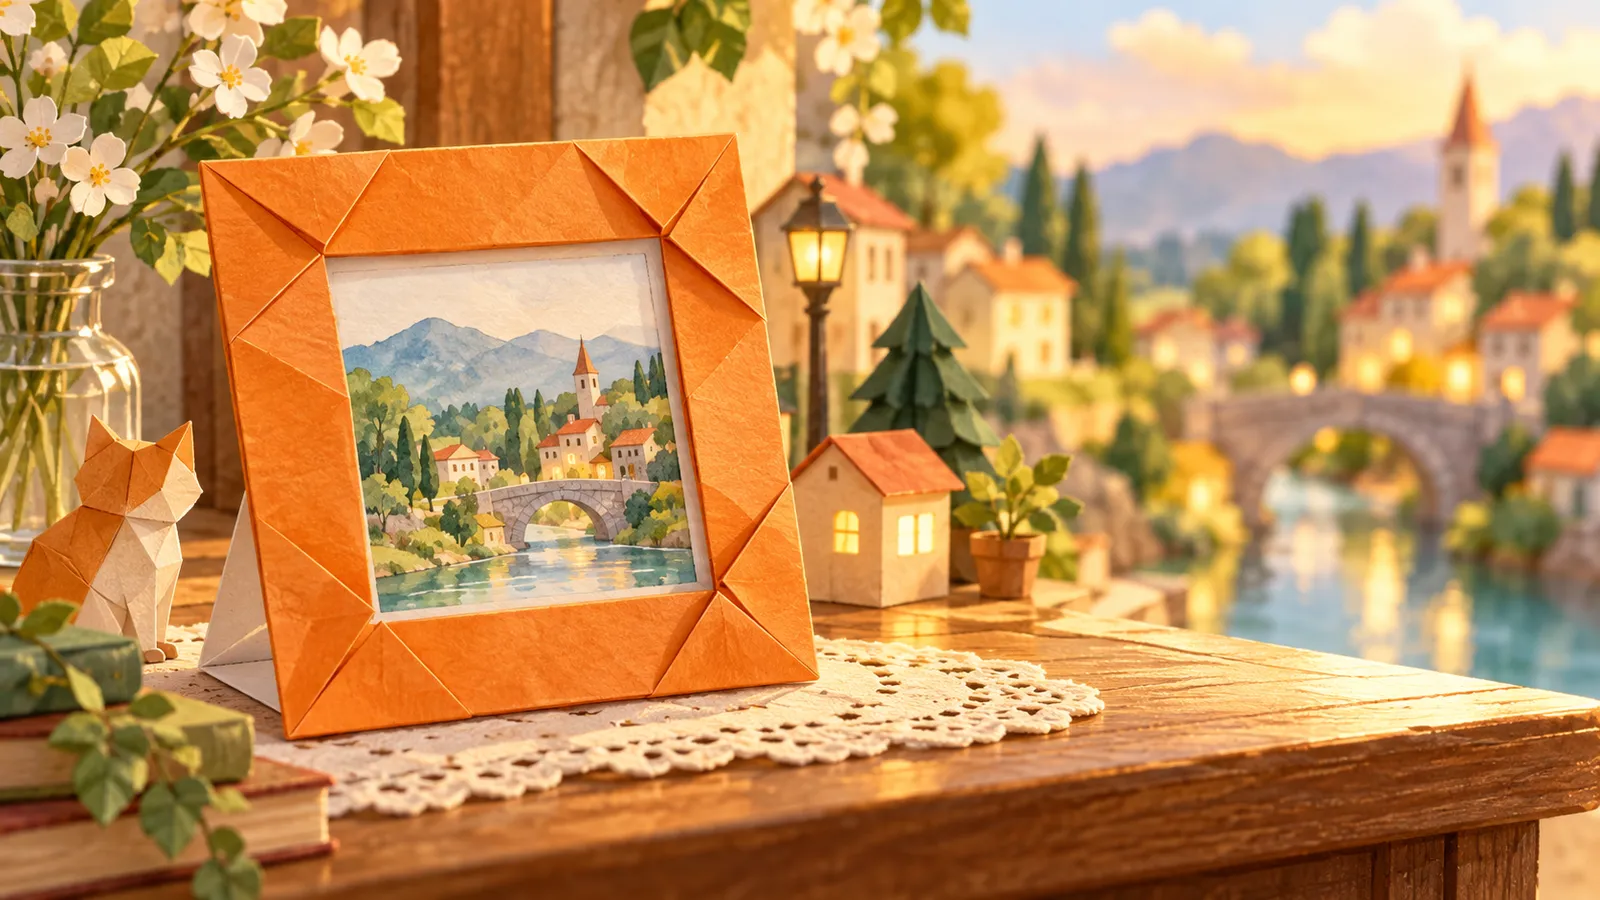

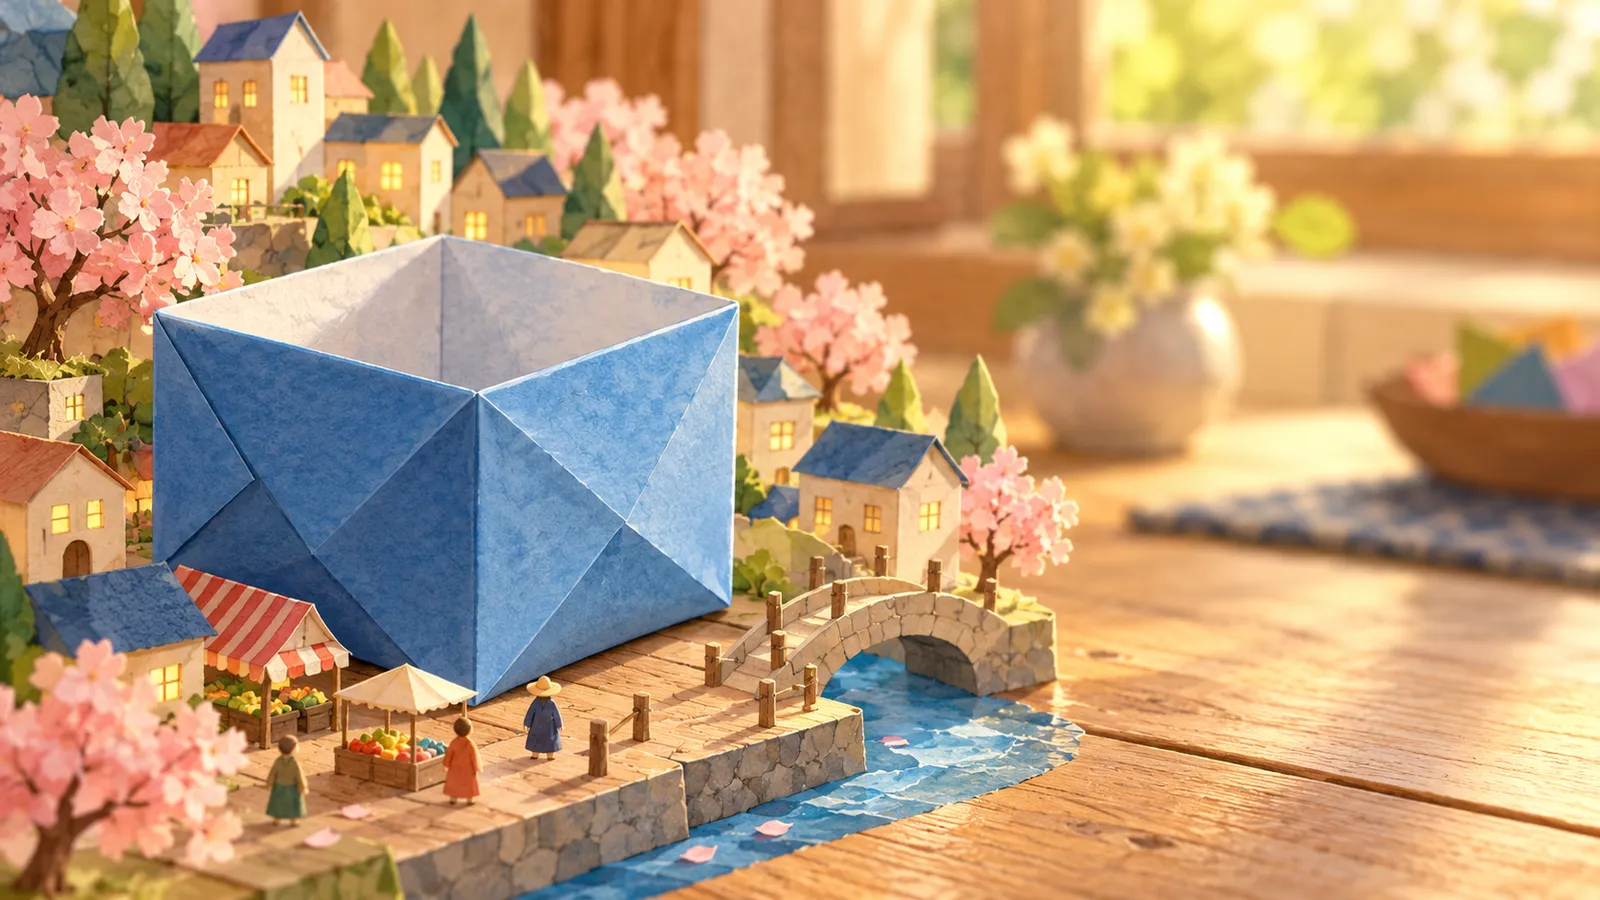
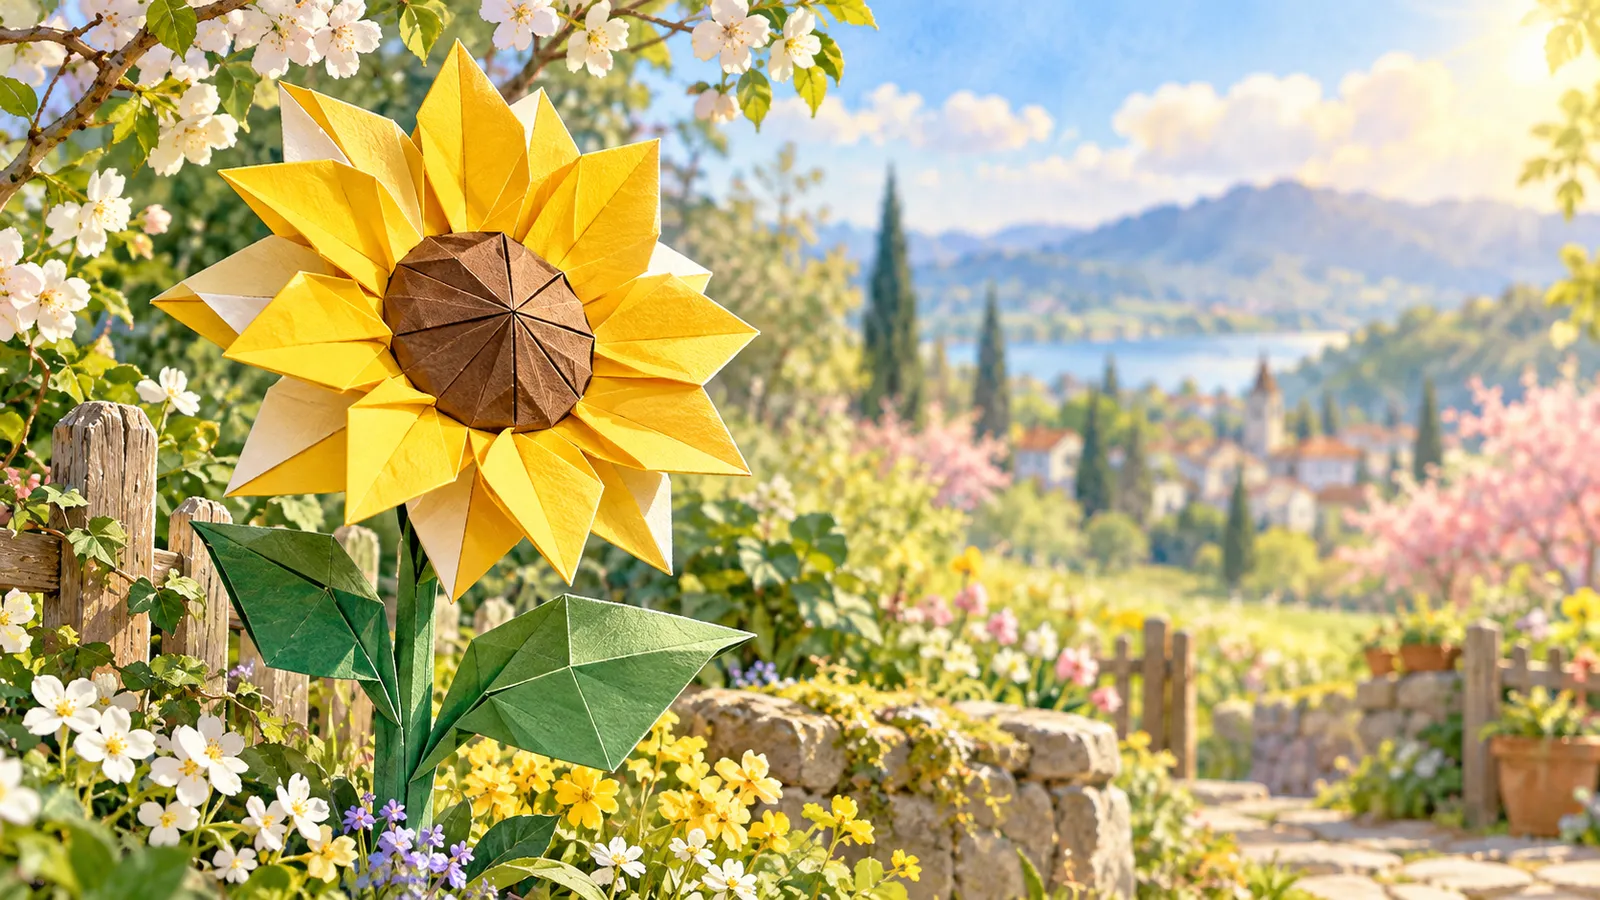

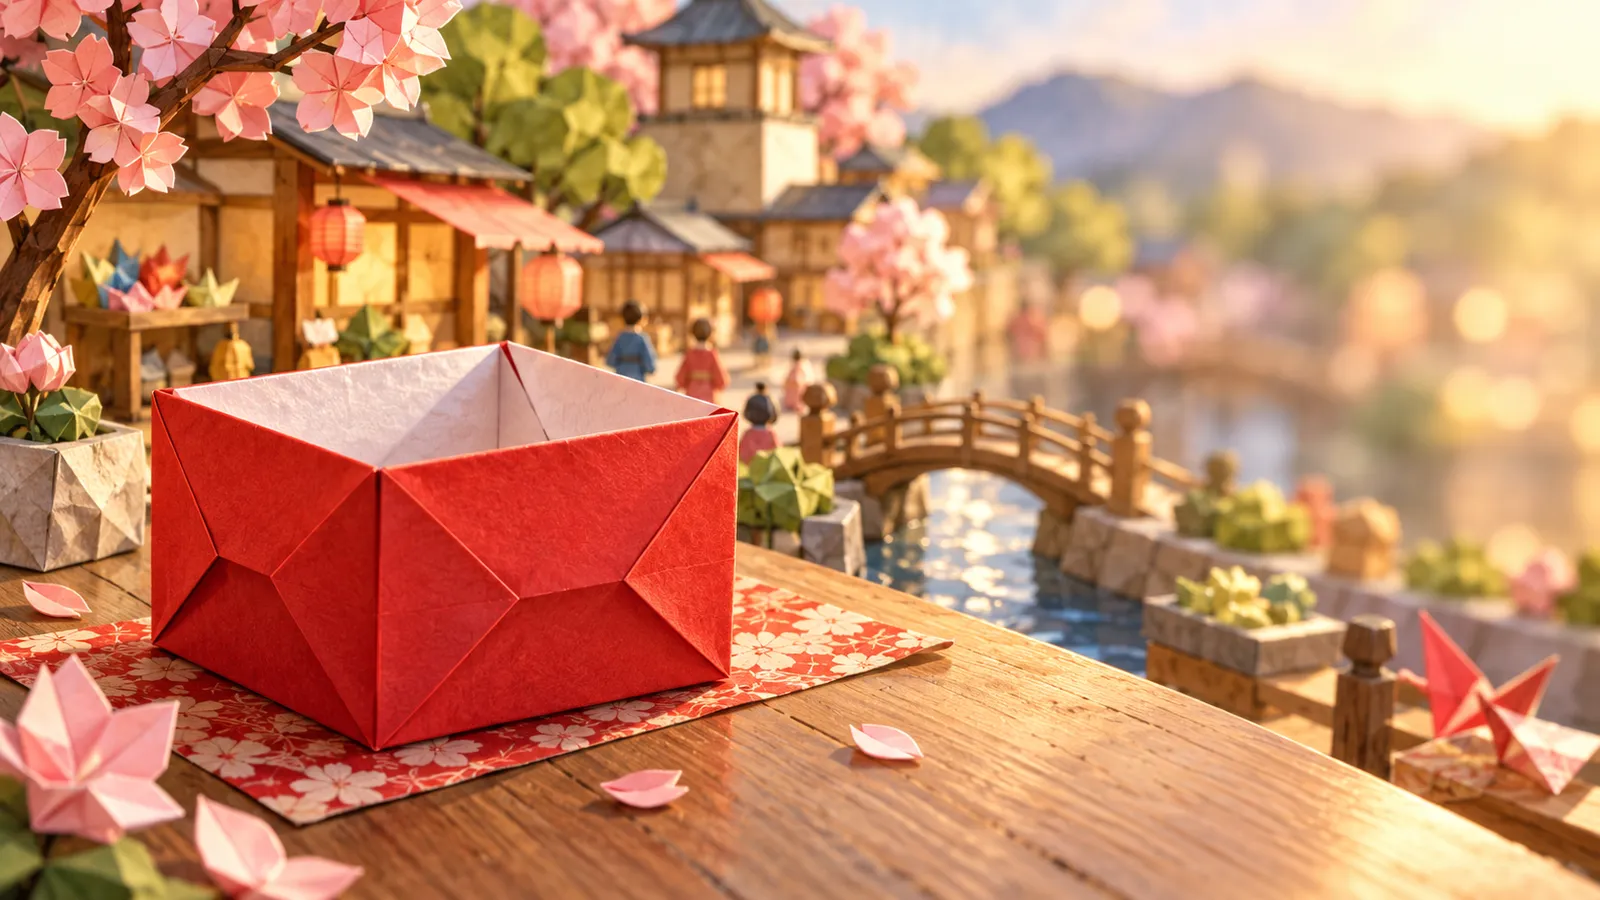
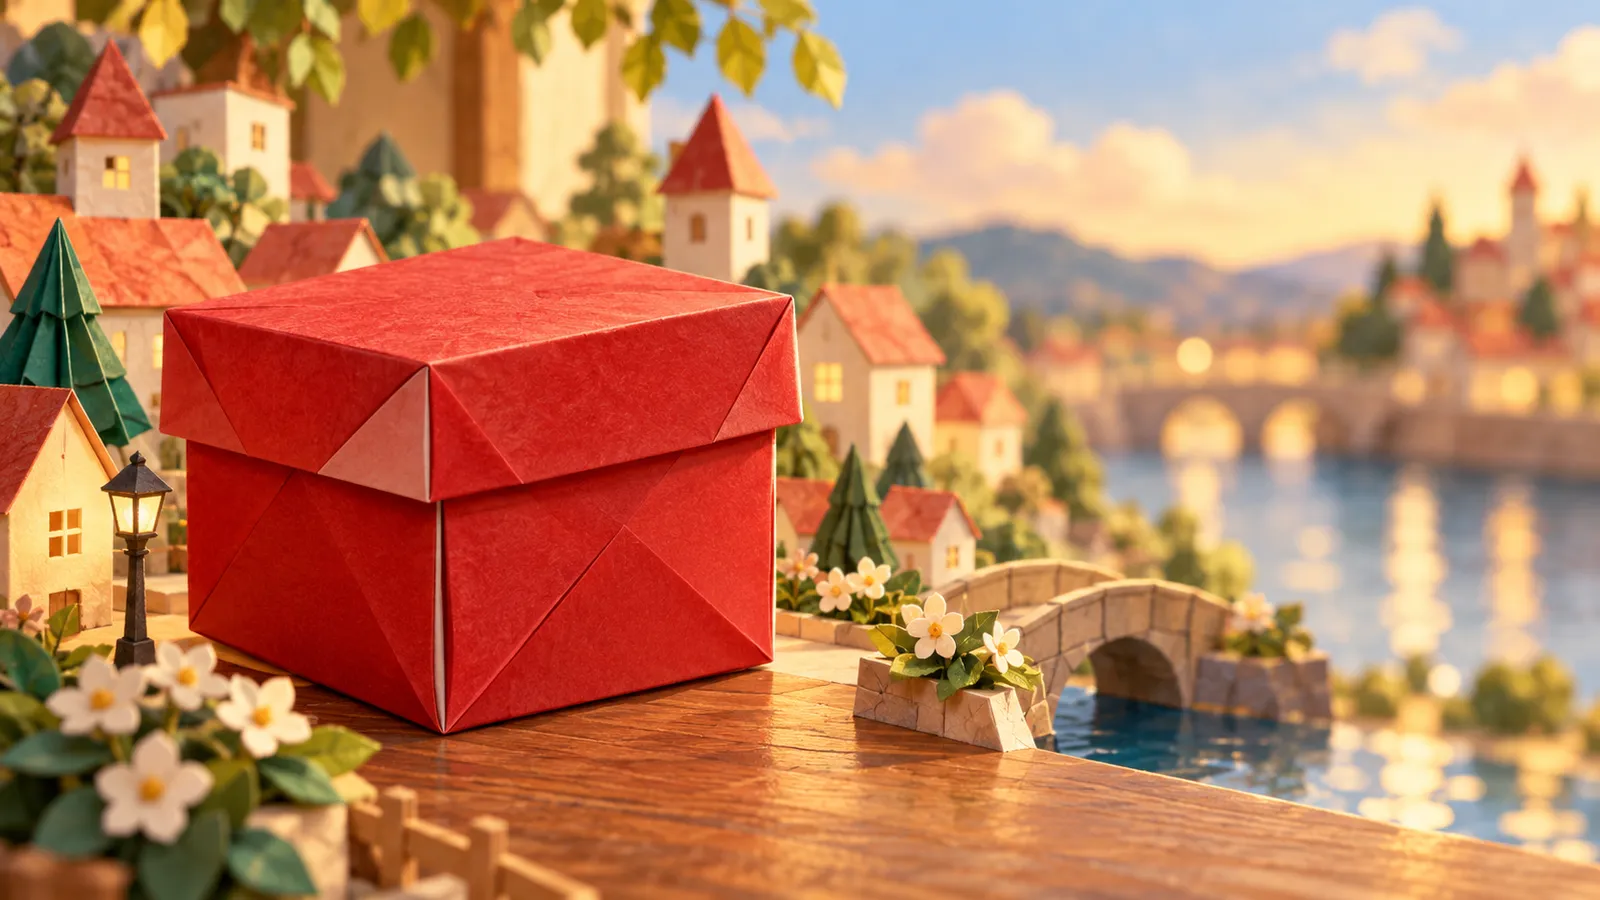

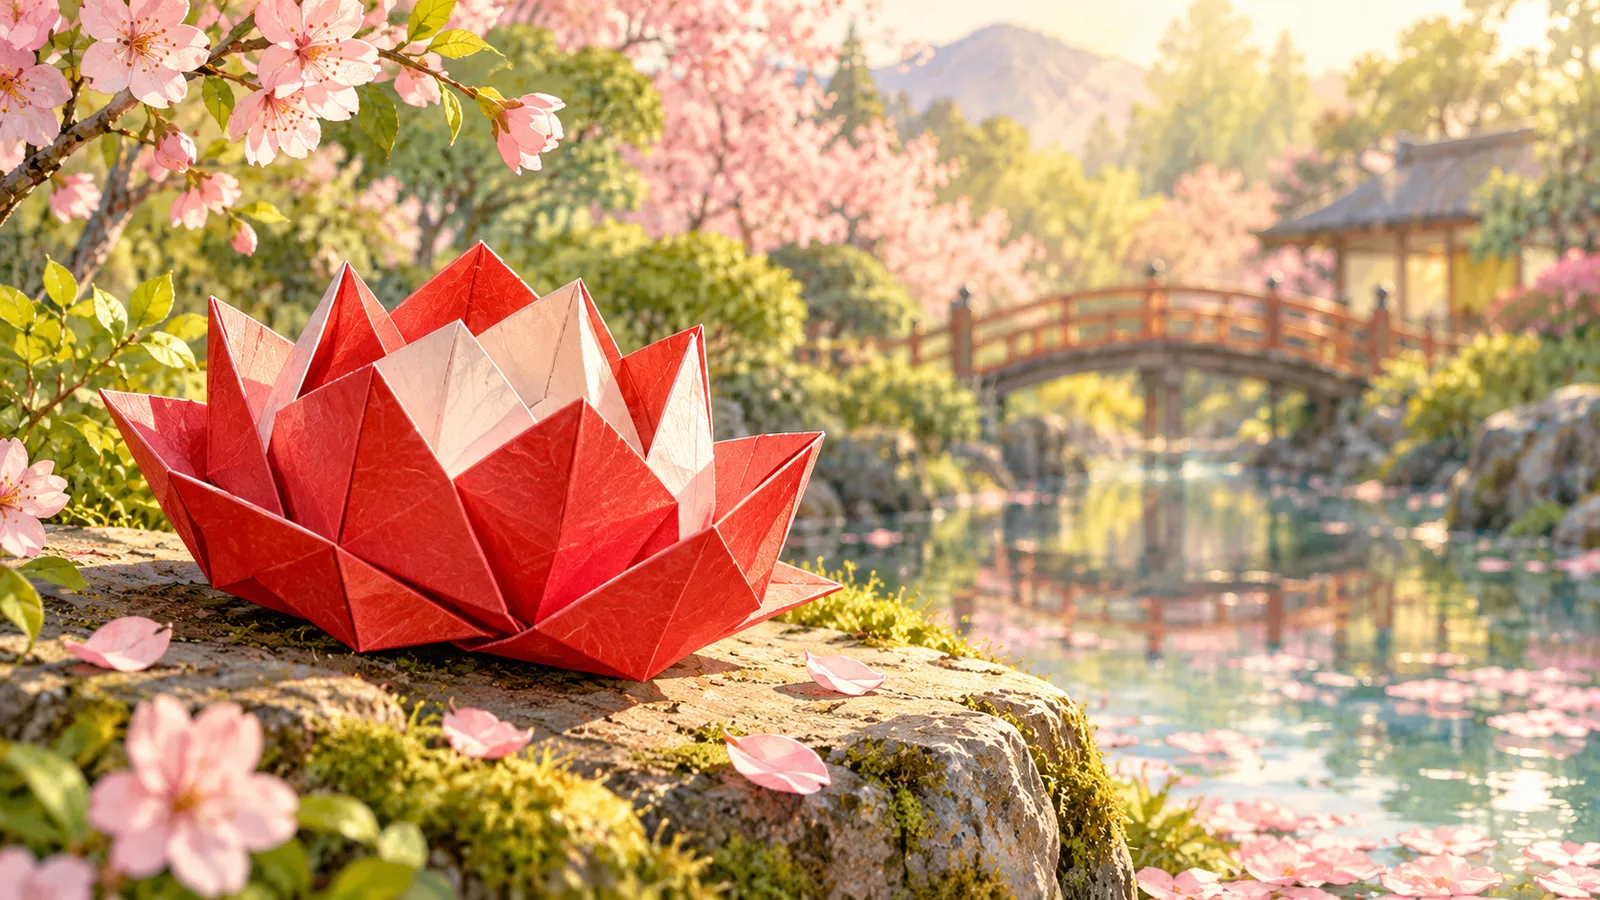
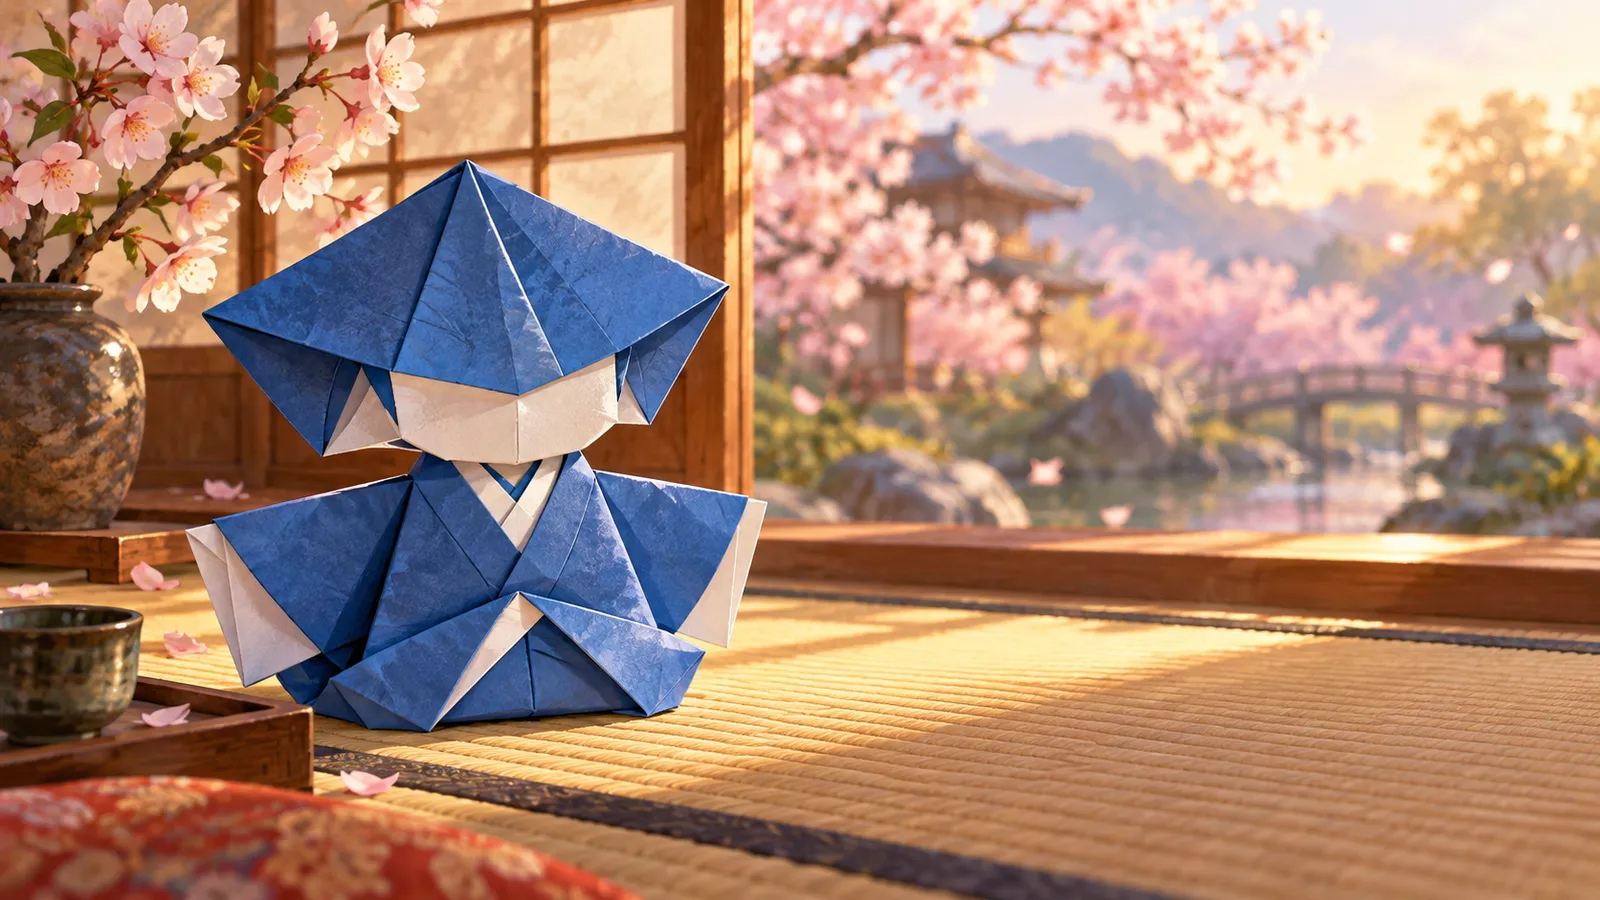
★★★ふつうMediumざぶとん折りからfrom the blintz base
風車の基本形Windmill base
左右のふちをまん中に折ってから、上下も折りすじに合わせてつぶし、4つの角を引き出す形。風車・船・テーブルなどに。
Fold the sides to the center, then fold the top and bottom while pulling out the four corners. Used for pinwheels, boats and tables.
角を引き出すときは、うらの紙をつまんで、そっと。Pinch the hidden layer and pull each corner out gently.
風車の基本形から生まれる作品(1)Models from the windmill base (1)
★★★ふつうMedium
正方基本形Square base (preliminary base)
三角に2回折ってから、袋を2つ四角につぶした形。鶴・ゆり・カエルなど、たくさんの作品がここから始まるので、英語では「preliminary(下じゅんびの)base」とも言います。
Fold a triangle twice, then squash both pockets into squares. So many models start here that it is also called the preliminary base.
つぶすとき、袋の背が、まん中の線にまっすぐ重なるように。When you squash, keep the spine of the pocket right on the center line.
正方基本形から生まれる作品(41)Models from the square base (41)
 ORIGINAL
クリスマスツリー(立体)3D Christmas Tree

はばたく鳥Flapping Bird
 ORIGINAL
たかHawk

つるCrane

しんぶんしのジャンボつるJumbo Newspaper Crane
 ORIGINAL
連鶴 四羽の輪Ring of Four Linked Cranes
 ORIGINAL
連鶴 鶴の親子Crane Family (Five Linked Cranes)

まう鶴Flying Crane

つる(立体)Crane with Spread Wings

たつ鶴Standing Crane
 ORIGINAL
フラミンゴFlamingo
 ORIGINAL
くじゃくPeacock
★★★ふつうMedium
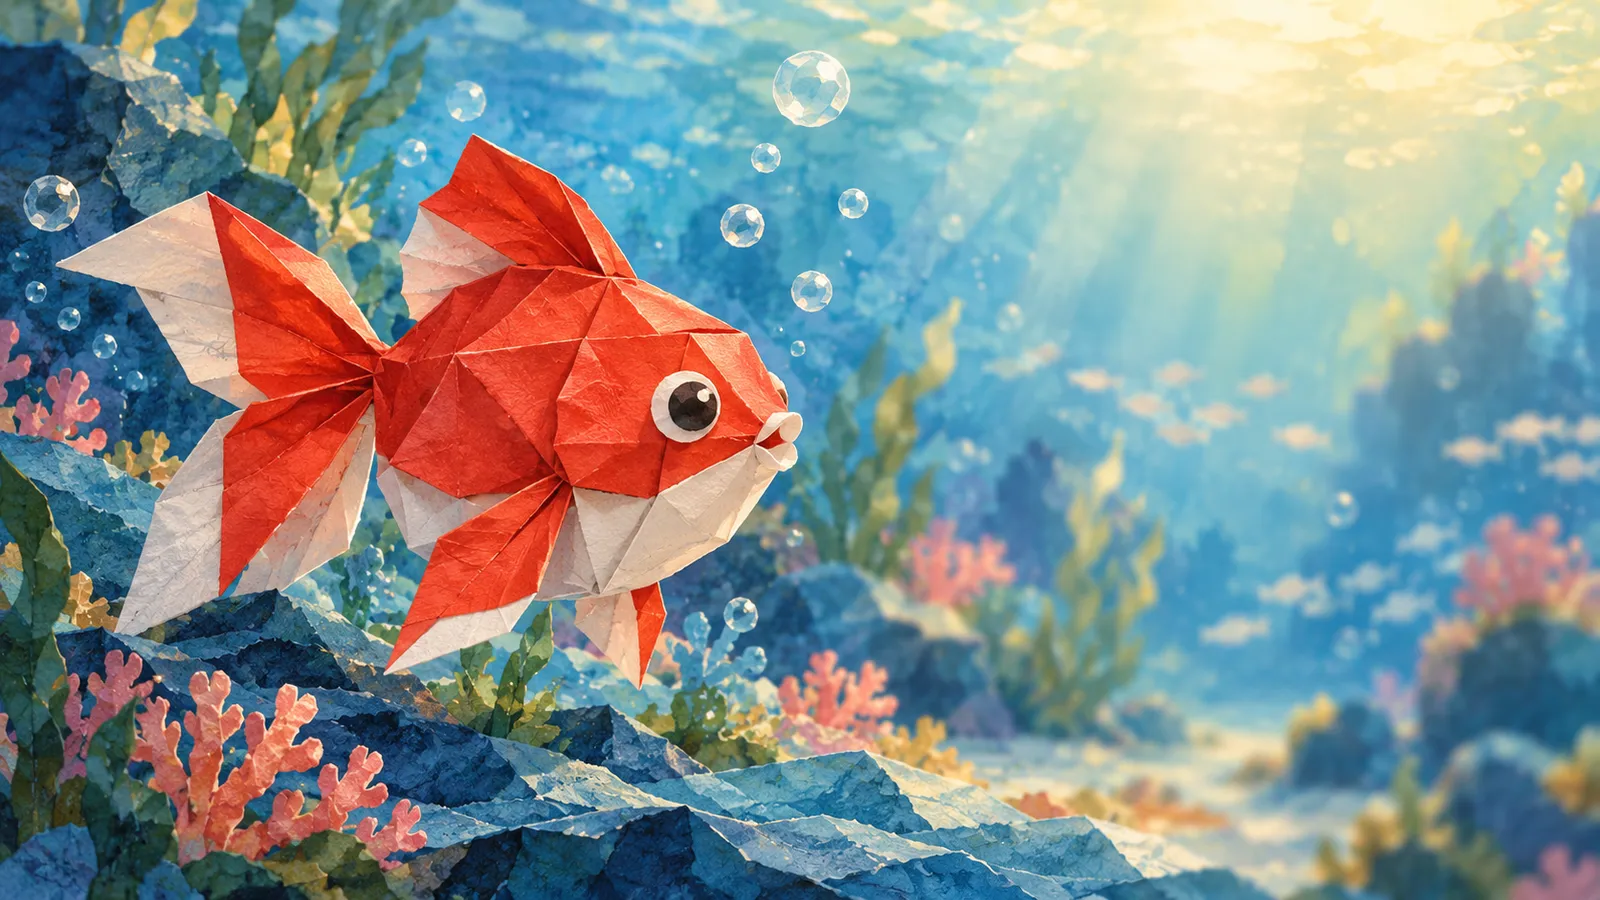
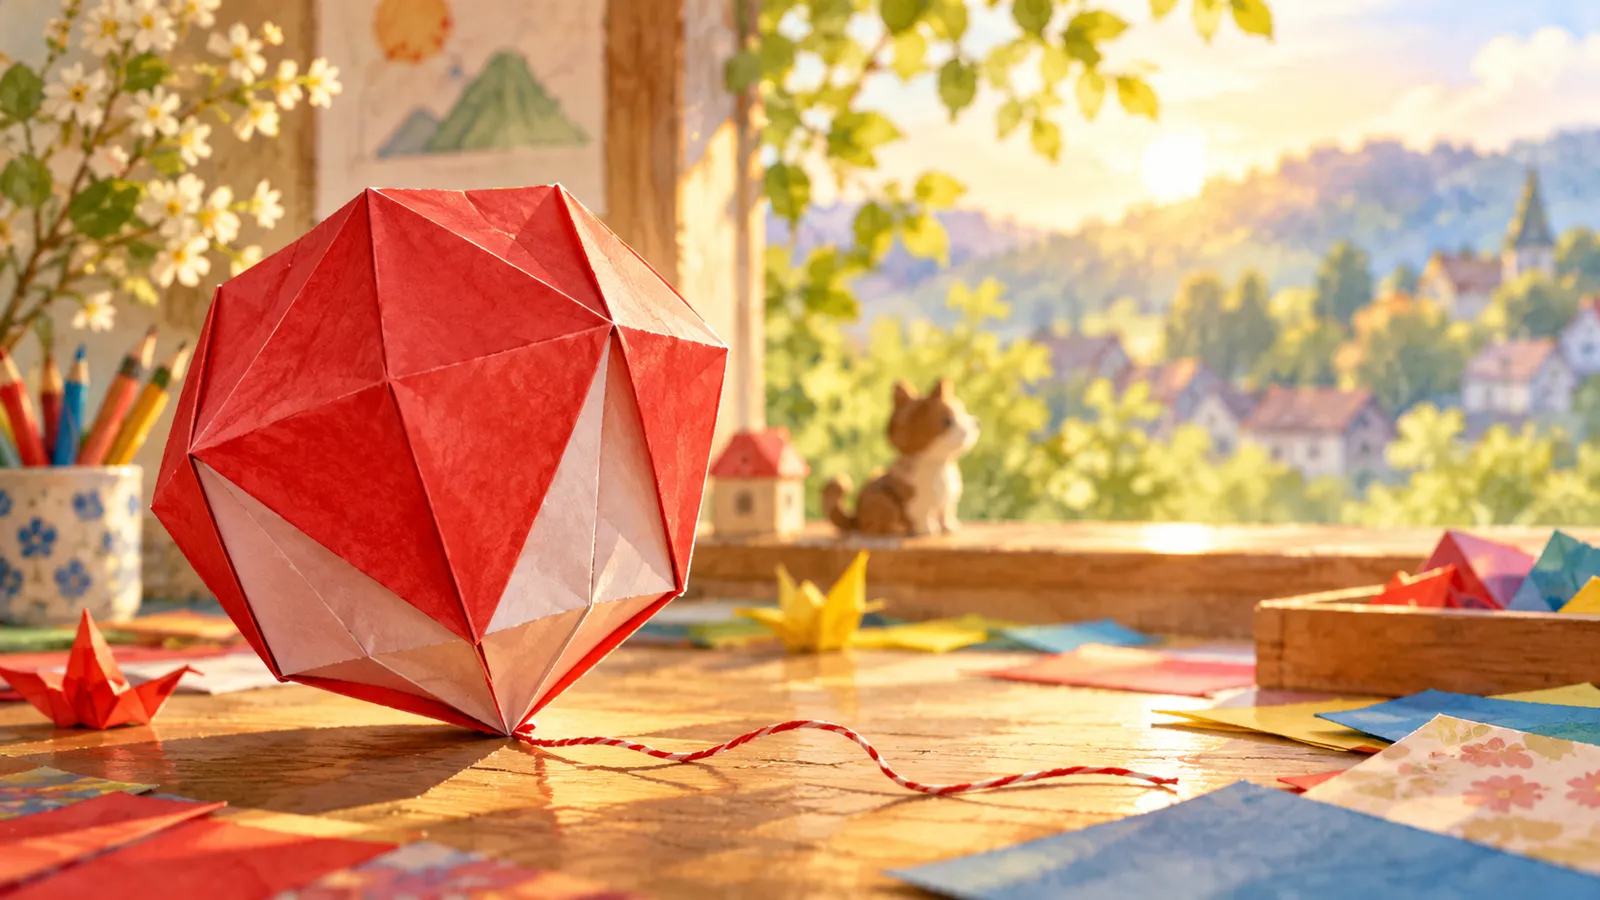
風船の基本形Waterbomb base
正方基本形と同じ折りすじで、山と谷を反対にした形(うら返しの関係)。紙風船・金魚・ロケットのもとになります。
The same creases as the square base, with mountains and valleys swapped — it is the square base turned inside out. The start of the paper balloon and goldfish.
左右を押しこむときは、横の折りすじが山折りになるように。As you push the sides in, make sure the horizontal crease is a mountain fold.
風船の基本形から生まれる作品(4)Models from the waterbomb base (4)


★★★ふつうMedium正方基本形からfrom the square base
鶴の基本形Bird base
正方基本形の表と裏を、花弁折りで細長いひし形にした形。上下に長い2本と、左右に開く2本、合わせて4つの細い先ができます。鶴・はばたく鶴・くじゃくなど、鳥の作品の王さま。
Petal-fold both sides of the square base into a long diamond. You get four long points — the king of bird models: crane, flapping bird, peacock and more.
花弁折りの前に、たこの線と上の横線の折りすじをしっかり。Before each petal fold, sharpen the kite creases and the top horizontal crease.
鶴の基本形から生まれる作品(38)Models from the bird base (38)

★★★★チャレンジChallenge正方基本形からfrom the square base
かえるの基本形Frog base
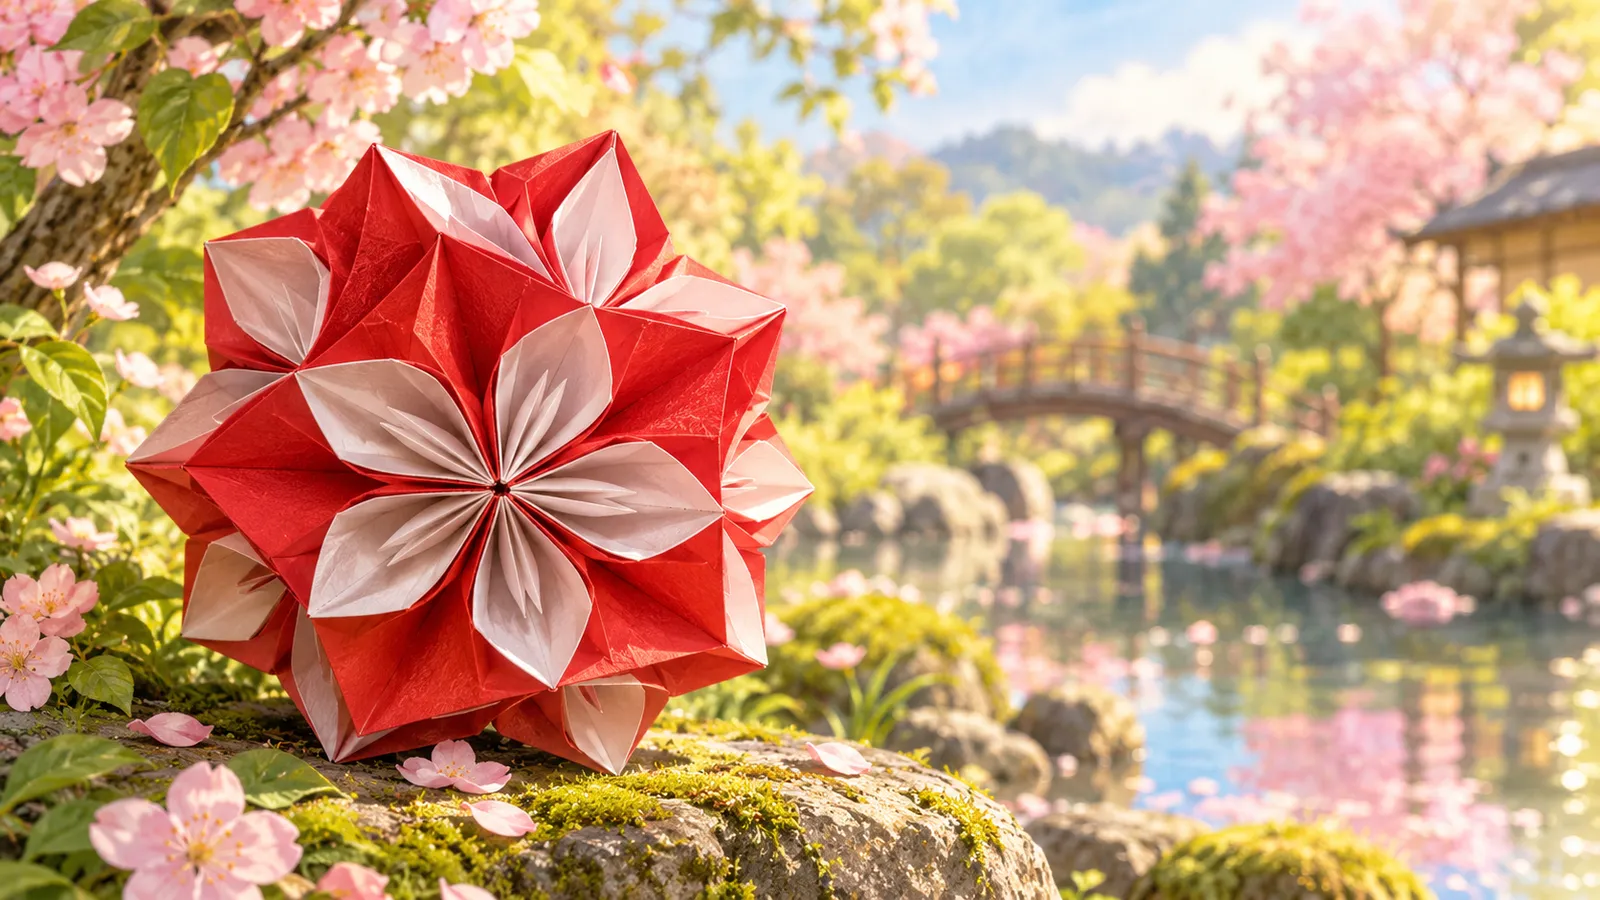
正方基本形の4つの袋を全部つぶし、さらに4つとも花弁折りした形。細い先が5本(4本+まん中)できるので、カエル・ゆり・虫など、足の多い作品に使います。
Squash all four pockets of a square base, then petal-fold all four. You get five long points — perfect for frogs, lilies and insects with many legs.
4回のつぶし折りで、すべての袋の背をまん中にそろえる。厚くなるので、うすい紙で。In all four squashes, keep each spine on the center. It gets thick, so use thin paper.