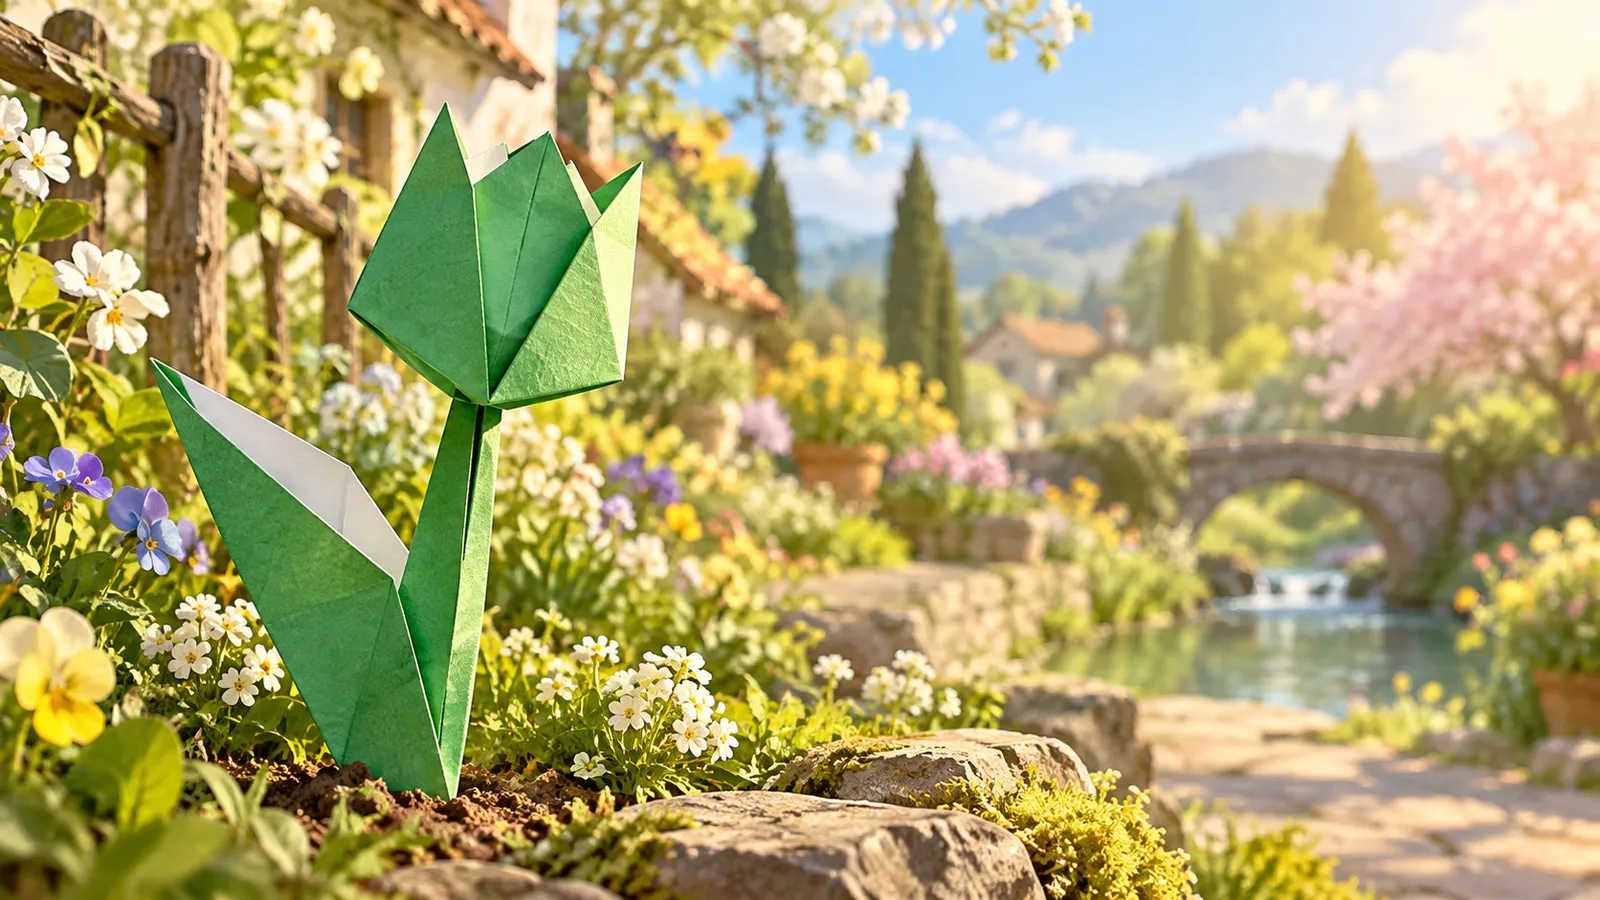
折り紙「あやめ」の折り方How to make an origami IrisあやめIris
4まいの花びらが外へたれ下がる、あやめの花。ゆりと同じ「かえるの基本形」から作り、さいごに花びらを折り下げます。An iris with four petals hanging outward. It starts from the same frog base as the lily, and the petals are folded down at the end.
- 22ステップ steps
- 約30分about 30 min
- 折り紙 1まい1 sheet of origami paper
- 大人も夢中Adults
 22



折り方How to fold
-
三角に折る
Fold in half to make a triangle.
-
さらに半分の三角に折る
Fold in half again.
-
うらがえして、こちらも四角につぶす(正方基本形)
Turn over and squash this side too. This is the preliminary base.
-
右の袋をまっすぐ立てて、まん中の線にそって開いてつぶす
Lift the right flap straight up, open it and squash it flat along the center line.
袋の中に指を入れ、折り目のかどがまん中の線にくるように、左右に同じだけ開きます。
-
左の1まいを右へめくって、なめらかな面を出す
Turn one layer from left to right so a smooth face shows.
-
下のふちをまん中に合わせるように、下の角を上へ持ち上げてたたむ(花弁折り)
Petal fold: lift the bottom corner up while the lower edges fold in to the center.
先に、下のふちをまん中の線に合わせる折りすじと、横の折りすじをつけておくと、きれいにたためます。
-
うらがえして、1まいめくり、こちらも花弁折り
Turn over, turn one layer, and petal fold this side too.
-
左の2まいを右へめくって、花弁折り
Turn two layers from left to right, then petal fold.
-
うらがえして、2まいめくって花弁折り(かえるの基本形)
Turn over, turn two layers, and petal fold. This is the frog base.
-
前の三角を下へ折る
Fold the front triangle down.
-
うらがえして、同じように折る
Turn over and do the same.
-
2まいめくって、残りの2つの面も同じように細くする
Turn two layers and narrow the other two faces the same way.
-
上下を逆にする
Turn it upside down.
-
4まいの花びらを、いちばん広いところで1まいずつ外へ折り下げる
Fold the four petals down and outward at the widest point, one at a time.
前の花びらは手前へ、うしろの花びらはうしろへ、横の2まいは左右へ、外側に向けて折ります。
-
まん中に指を入れて、花を開く
Put a finger in the center and open the flower.
-
できあがり!花びらのつけ根を指でつまんで、4まいを外へ広げたら、あやめのできあがり! むらさきや青の紙で折ると本物らしくなります。
Finished! Pinch the base of each petal and spread the four petals outward. Your iris is finished! Purple or blue paper looks great.
 袋の中に指を入れ、折り目のかどがまん中の線にくるように、左右に同じだけ開きます。
この作品のトリビアFun fact
あやめは、初夏にむらさきの花をさかせます。「いずれあやめかかきつばた」ということばは、どちらも美しくて選べない、という意味です。
Irises bloom in early summer in Japan. The saying "Izure ayame ka kakitsubata" means two things are both so beautiful that you cannot choose.
この作品で使う英語Origami English in this model

❓ よくある質問FAQ
- あやめは何歳から折れますか?What age is this origami Iris for?
- 目安は大人も夢中です。難しさは5段階の「マスター」で、22ステップ・約30分で折れます。はじめての人は、同じなかまのかんたんな作品から折ると上達が早いです。About Adults. It is rated “Master” (level 5 of 5), with 22 steps, and takes about 30 minutes.
- どんな紙で折りますか?What paper do I need?
- 折り紙1まい(15cmの正方形)を使います。はさみやのりはいりません。One sheet of square origami paper (15 cm / 6 in). No scissors or glue are needed.
- あやめは英語で何と言いますか?What is it called in Japanese?
- 英語では「Iris」です。折り紙は英語でもそのまま origami(または paper folding)。このページの英語版を見れば、折り方を英語で説明するときの言い方もわかります。In Japanese it is “あやめ”. The word origami (折り紙) itself means “folding paper”: ori = fold, kami = paper.
- 折り方を印刷できますか?Can I print the instructions?
- できます。「折り図を印刷・PDF」で全ステップを1まいに、「折り線つき練習用紙」で線の上を折るだけの紙を印刷できます。家庭や授業での印刷・配布は無料です。Yes. “Print the diagram” puts every step on one page (or a PDF), and the practice sheet has the crease lines printed on the paper. Free for home and classroom use.