How to make an origami Samurai WarriorむしゃSamurai Warrior
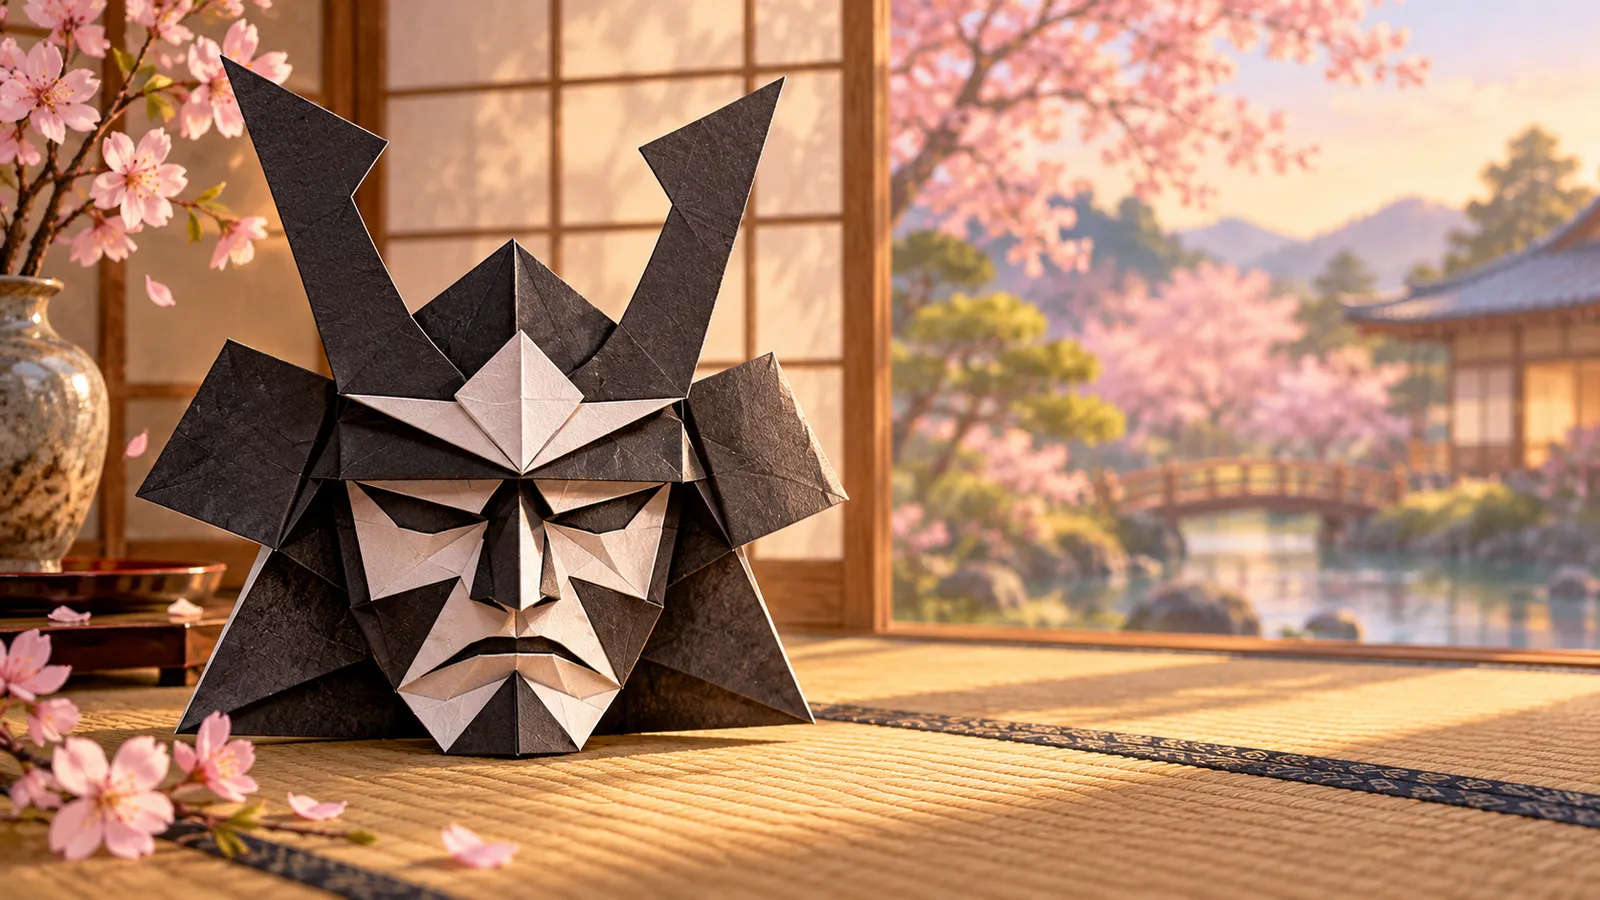
A brave samurai warrior in a helmet and armor. This challenge version is made from two sheets: fold the armor and the helmet separately, then put them together.
- 22 steps
- about 35 min
- 2 sheets of origami paper (a 15 cm red sheet for the armor and a 7.5 cm gold sheet for the helmet)
- Age 10+
 22



How to fold
-
よろい(大きい紙):白い面を上にして、たて・よこ半分に折りすじをつける
Armor (big sheet): start with the white side up. Fold in half both ways and unfold.
-
四つの角を、まん中に合わせて折る(ざぶとん折り)
Fold all four corners to the center (blintz fold).
-
うらがえす
Turn it over.
-
もう一度、四つの角をまん中に合わせて折る
Fold the four corners to the center again.
-
うらがえす
Turn it over.
-
もう一度、四つの角をまん中に合わせて折る(3回め)
Fold the four corners to the center one more time.
-
うらがえす。小さな四角が4つ見える
Turn it over. You can see four small squares.
-
右の袋も、同じようにつぶす
Squash the right pocket the same way.
-
大袖の外がわの上の角を、うしろへ小さく折る(肩をまるく)
Fold the outer top corners of the shoulder guards behind a little to round the shoulders.
-
草摺の下の2つの角を、うしろへ小さく折る
Fold the two bottom corners of the hip armor behind a little.
-
かぶと(小さい紙):白い面を上にして、三角に折る
Helmet (small sheet): start with the white side up and fold in half to make a triangle.
-
上の角を、ななめ外へ折って くわがた(角)をつくる
Fold the top points out at an angle to make the horns (kuwagata).
-
もう一度、まん中の線で折り上げる(つば)
Fold it up again along the middle line to make the brim.
-
のこりの1まいを、うしろへ折る
Fold the last layer behind.
-
つばの両はしを、うしろへ小さく折る(吹き返し)
Fold both ends of the brim behind a little. These are the side flaps (fukigaeshi).
-
かぶとを、顔の上にかぶせる
Put the helmet on top of the face.
つばの下に、顔が少し見えるくらいにします。のりで止めると、こわれにくくなります。
-
できあがり!顔と、よろいの「おどし」(ひものもよう)をかいたら、武者のできあがり! こどもの日に、五月人形のように かざろう。
Finished! Draw the face and the laced pattern of the armor, and your samurai warrior is finished! Display him on Children’s Day like a May doll.
 まん中のすきまから指を入れて、外の角へむけて広げます。
Fun fact
むかしの武士のよろいは、小さな板(さね)を何百まいも ひもで つないで作りました。肩をまもる大きな板を「大袖(おおそで)」、こしから下をまもる板を「草摺(くさずり)」といいます。
Old samurai armor was made of hundreds of small plates tied together with colorful cords. The big shoulder guards are called o-sode, and the plates that protect the hips are called kusazuri.
Origami English in this model

- unfold開く(元に戻す)
- open開く
- fold in half半分に折る
- corner角
- flapフラップ(動かせる一枚)
- layer(重なった紙の)一枚
- pocketふくろ(ポケット)
- white side白い面(裏)
- square正方形
- rectangle長方形
- triangle三角形
- warrior武者(むしゃ)
- armorよろい
- helmetかぶと
- shoulder肩(かた)
- cordひも
- brave勇(いさ)ましい
❓ FAQ
- What age is this origami Samurai Warrior for?
- About Age 10+. It is rated “Challenge” (level 4 of 5), with 22 steps, and takes about 35 minutes.
- What paper do I need?
- 2 sheets of origami paper (a 15 cm red sheet for the armor and a 7.5 cm gold sheet for the helmet) No scissors or glue are needed.
- What is it called in Japanese?
- In Japanese it is “むしゃ”. The word origami (折り紙) itself means “folding paper”: ori = fold, kami = paper.
- Can I print the instructions?
- Yes. “Print the diagram” puts every step on one page (or a PDF), and the practice sheet has the crease lines printed on the paper. Free for home and classroom use.