How to make an origami Hydrangeaあじさい(チャレンジ)Hydrangea (Challenge)
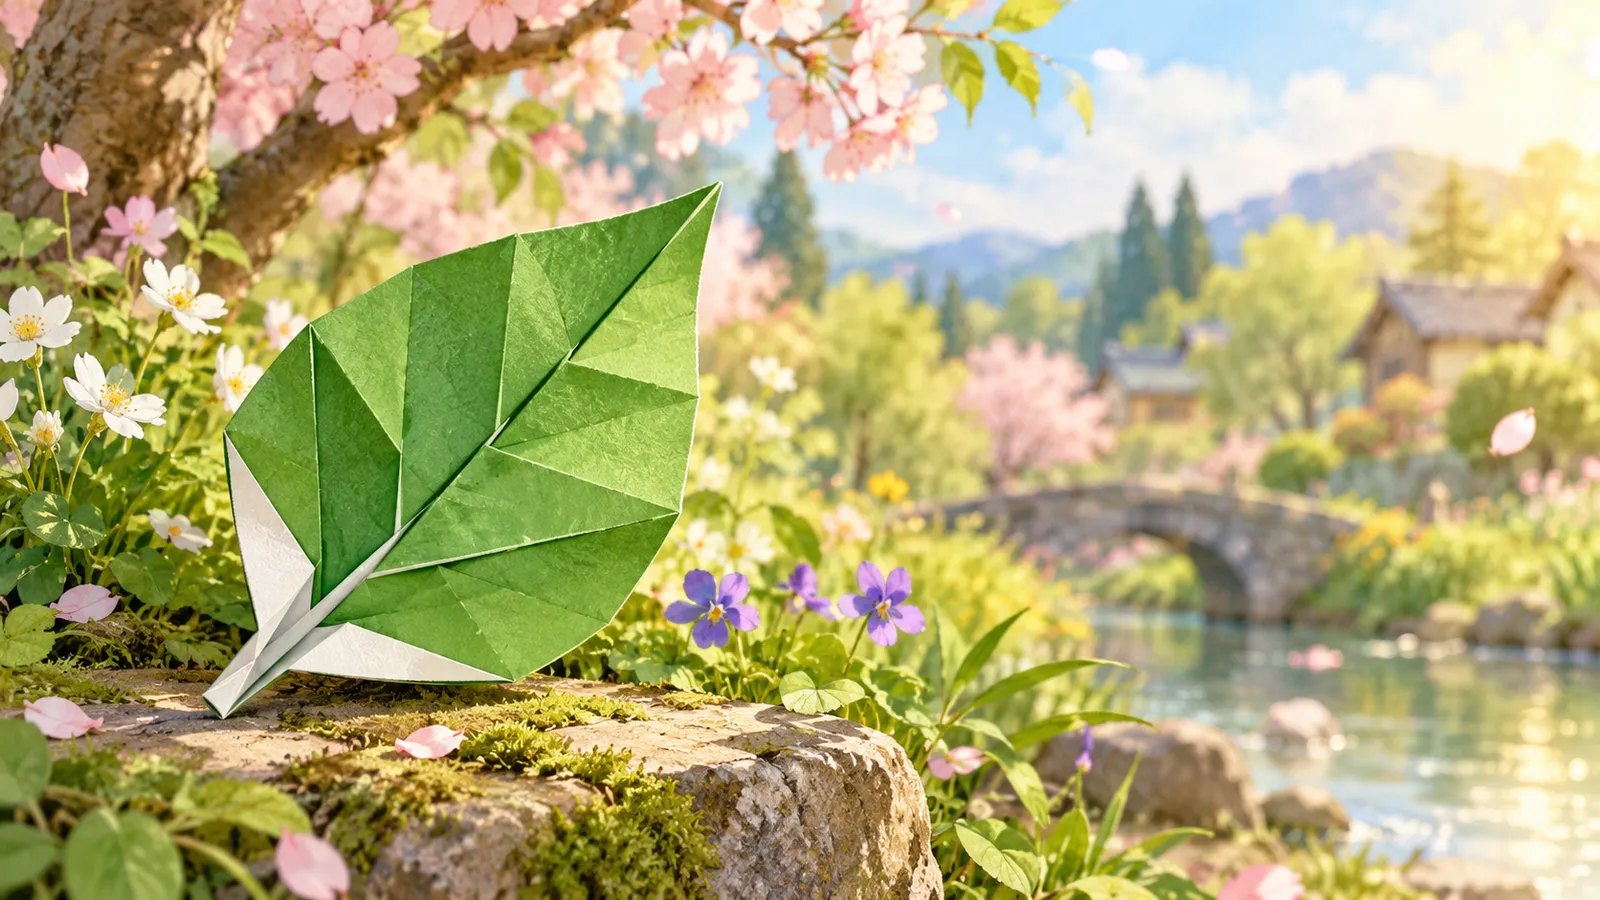
A life-like hydrangea made by gathering several little four-petal flowers. You also fold a green leaf and put them together.
- 7 steps
- about 20 min
- 4 small sheets in purple and blue (about a quarter of a regular sheet each) and 1 sheet of green paper
- Age 7+
 7



How to fold
-
小花:小さな紙 4まいを、白い面を上にして重ね、2本のななめの線で 折りすじをつける
Little flowers: stack the four small sheets with the white side up. Crease both diagonals.
1まいずつ 同じように折っても かまいません。
-
4つのかどを、まん中に合わせて折る(4まいの花びら)
Fold all four corners to the center. These make four petals.
-
4まいの 花びらの かどを、うしろへ小さく折って まるくする
Fold the corners of the four petals behind a little to round them.
-
葉(みどりの紙):色の面を上にして、下の左右のふちを、まん中の線に合わせて うしろへ折る
Leaf (green paper): start with the colored side up. Fold the lower edges behind to the center line.
-
上の左右のふちも、まん中の線に合わせて うしろへ折る
Fold the upper edges behind to the center line, too.
-
葉を、たてに 半分に 折って、折りすじをつける(葉の すじ)
Fold the leaf in half lengthwise and unfold. This makes the vein.
-
小花を 4つ、ずらして 集め、葉の上の方に のせて のりで はる
Gather the four little flowers, overlapping them a little, and glue them on the upper part of the leaf.
小花を ふやすほど、本物の あじさいに 近づきます。
-
できあがり!小花の まん中に 点を かいたら、あじさいのできあがり! 小花を ふやすと、もっと ふっくら します。
Finished! Draw a dot in the center of each little flower, and your hydrangea is finished! Add more little flowers to make it fuller.
 1まいずつ 同じように折っても かまいません。
Fun fact
あじさいの 花びらに 見えるところは、じつは「がく」です。本当の花は、まん中の 小さな つぶです。
What look like hydrangea petals are actually sepals. The real flowers are the tiny dots in the middle.
Origami English in this model

- unfold開く(元に戻す)
- crease折りすじ(折りすじをつける)
- corner角
- edge辺(ふち)
- diagonal対角線
- center line中心線
- colored side色の面(表)
- white side白い面(裏)
- hydrangeaあじさい
- sepalがく
- leaf葉
- gather集める
❓ FAQ
- What age is this origami Hydrangea for?
- About Age 7+. It is rated “Medium” (level 3 of 5), with 7 steps, and takes about 20 minutes.
- What paper do I need?
- 4 small sheets in purple and blue (about a quarter of a regular sheet each) and 1 sheet of green paper No scissors or glue are needed.
- What is it called in Japanese?
- In Japanese it is “あじさい(チャレンジ)” (紫陽花). The word origami (折り紙) itself means “folding paper”: ori = fold, kami = paper.
- Can I print the instructions?
- Yes. “Print the diagram” puts every step on one page (or a PDF), and the practice sheet has the crease lines printed on the paper. Free for home and classroom use.