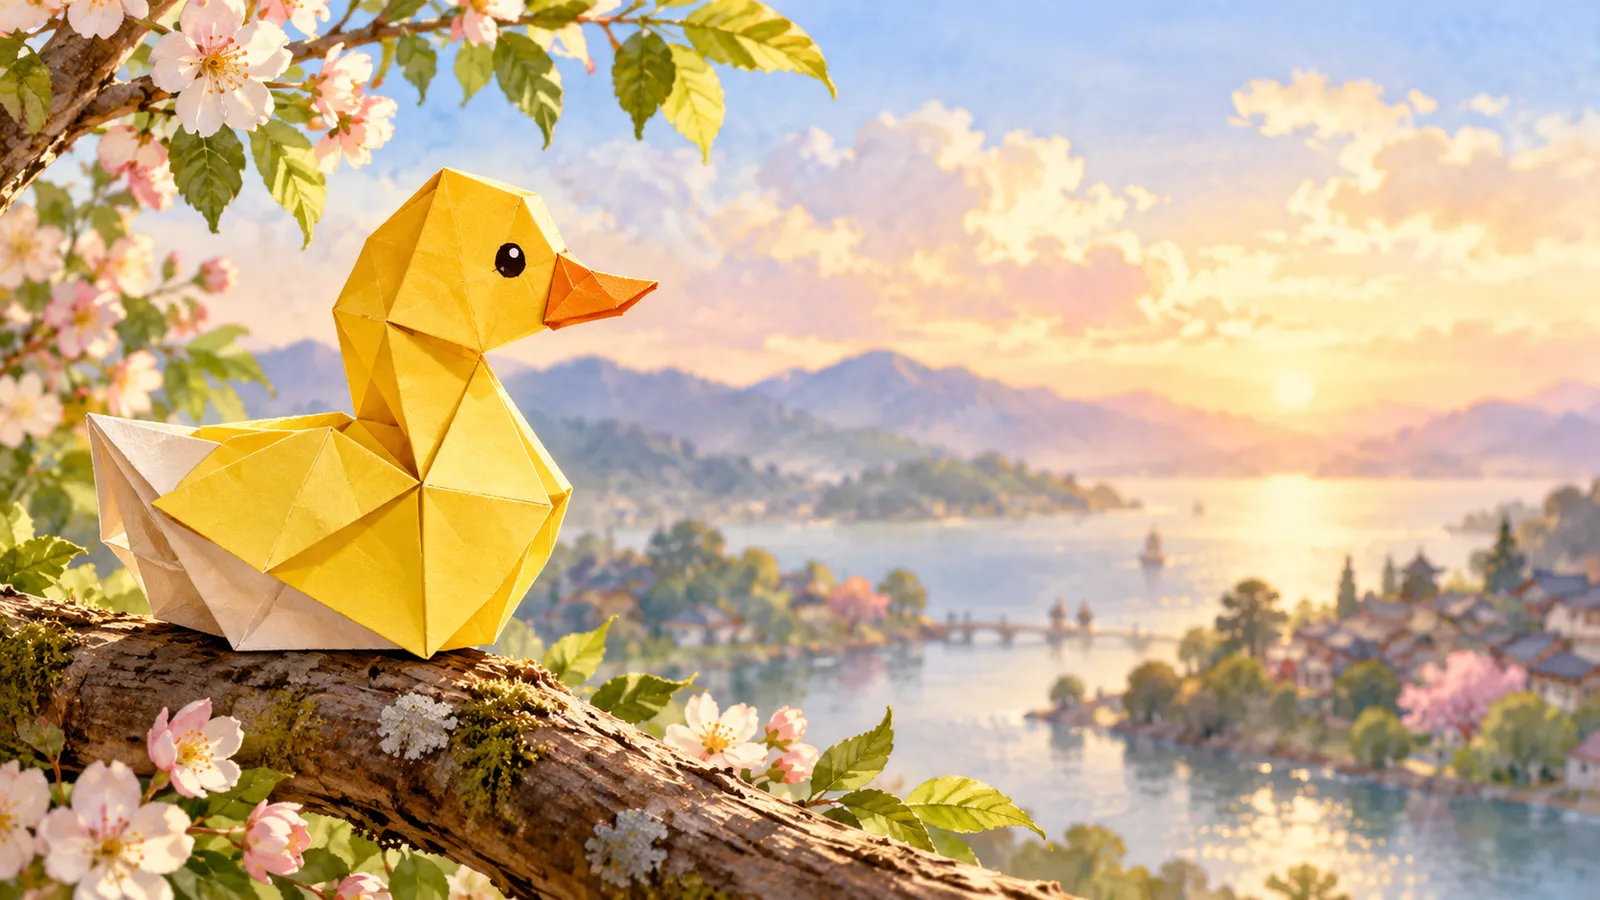
How to make an origami Wild DuckかもWild Duck
A wild duck floating on a pond. Three inside reverse folds make the neck, head and tail.
- 8 steps
- about 10 min
- 1 sheet of origami paper
- Age 7+
 8



How to fold
-
上と下のかどを合わせて半分に折り、折りすじをつける
Fold in half, top to bottom, and unfold.
-
右の2つのふちを、まん中の線に合わせて折る(たこの形)
Fold the two right edges to the center line. This is the kite base.
-
うらがえす
Turn it over.
-
下半分を、うしろへ半分に折る
Mountain fold in half, bottom behind.
-
左の細い先を、中わり折りで上へ(首)
Inside reverse fold the thin point up to make the neck.
-
首の先を、中わり折りで前へ(頭とくちばし)
Inside reverse fold the tip of the neck forward to make the head and beak.
-
右のかどを、中わり折りで上へ(しっぽ)
Inside reverse fold the right corner up to make the tail.
-
せなかのかどを、うしろへ折る
Fold the corner of the back behind.
-
できあがり!目をかいたら、かものできあがり! 青い紙の上にうかべてみよう。
Finished! Draw an eye, and your wild duck is finished! Float it on a sheet of blue paper.
Fun fact

かもは冬になると、北の国から日本の池や川へ たくさんわたってきます。マガモのオスは、頭が緑色です。
Many wild ducks fly to ponds and rivers in Japan for the winter. Male mallards have a green head.
Origami English in this model

❓ FAQ
- What age is this origami Wild Duck for?
- About Age 7+. It is rated “Medium” (level 3 of 5), with 8 steps, and takes about 10 minutes.
- What paper do I need?
- One sheet of square origami paper (15 cm / 6 in). No scissors or glue are needed.
- What is it called in Japanese?
- In Japanese it is “かも” (鴨). The word origami (折り紙) itself means “folding paper”: ori = fold, kami = paper.
- Can I print the instructions?
- Yes. “Print the diagram” puts every step on one page (or a PDF), and the practice sheet has the crease lines printed on the paper. Free for home and classroom use.